Simon's Portfolio
Projects
Engine Swap
Original Engine
The car when puchased came with the factory 2.8L V6 engine with about 130,000 miles on it. It ran, sounded great, didn’t knock, and the oil came out clean on the dipstick. That says “mint” to me. The stock intake plenum was missing, and had been replaced by a length of corrugated plastic tubing. This contributed an aftermarket whistling sound and a possible, but unlikely reduction in horsepower.
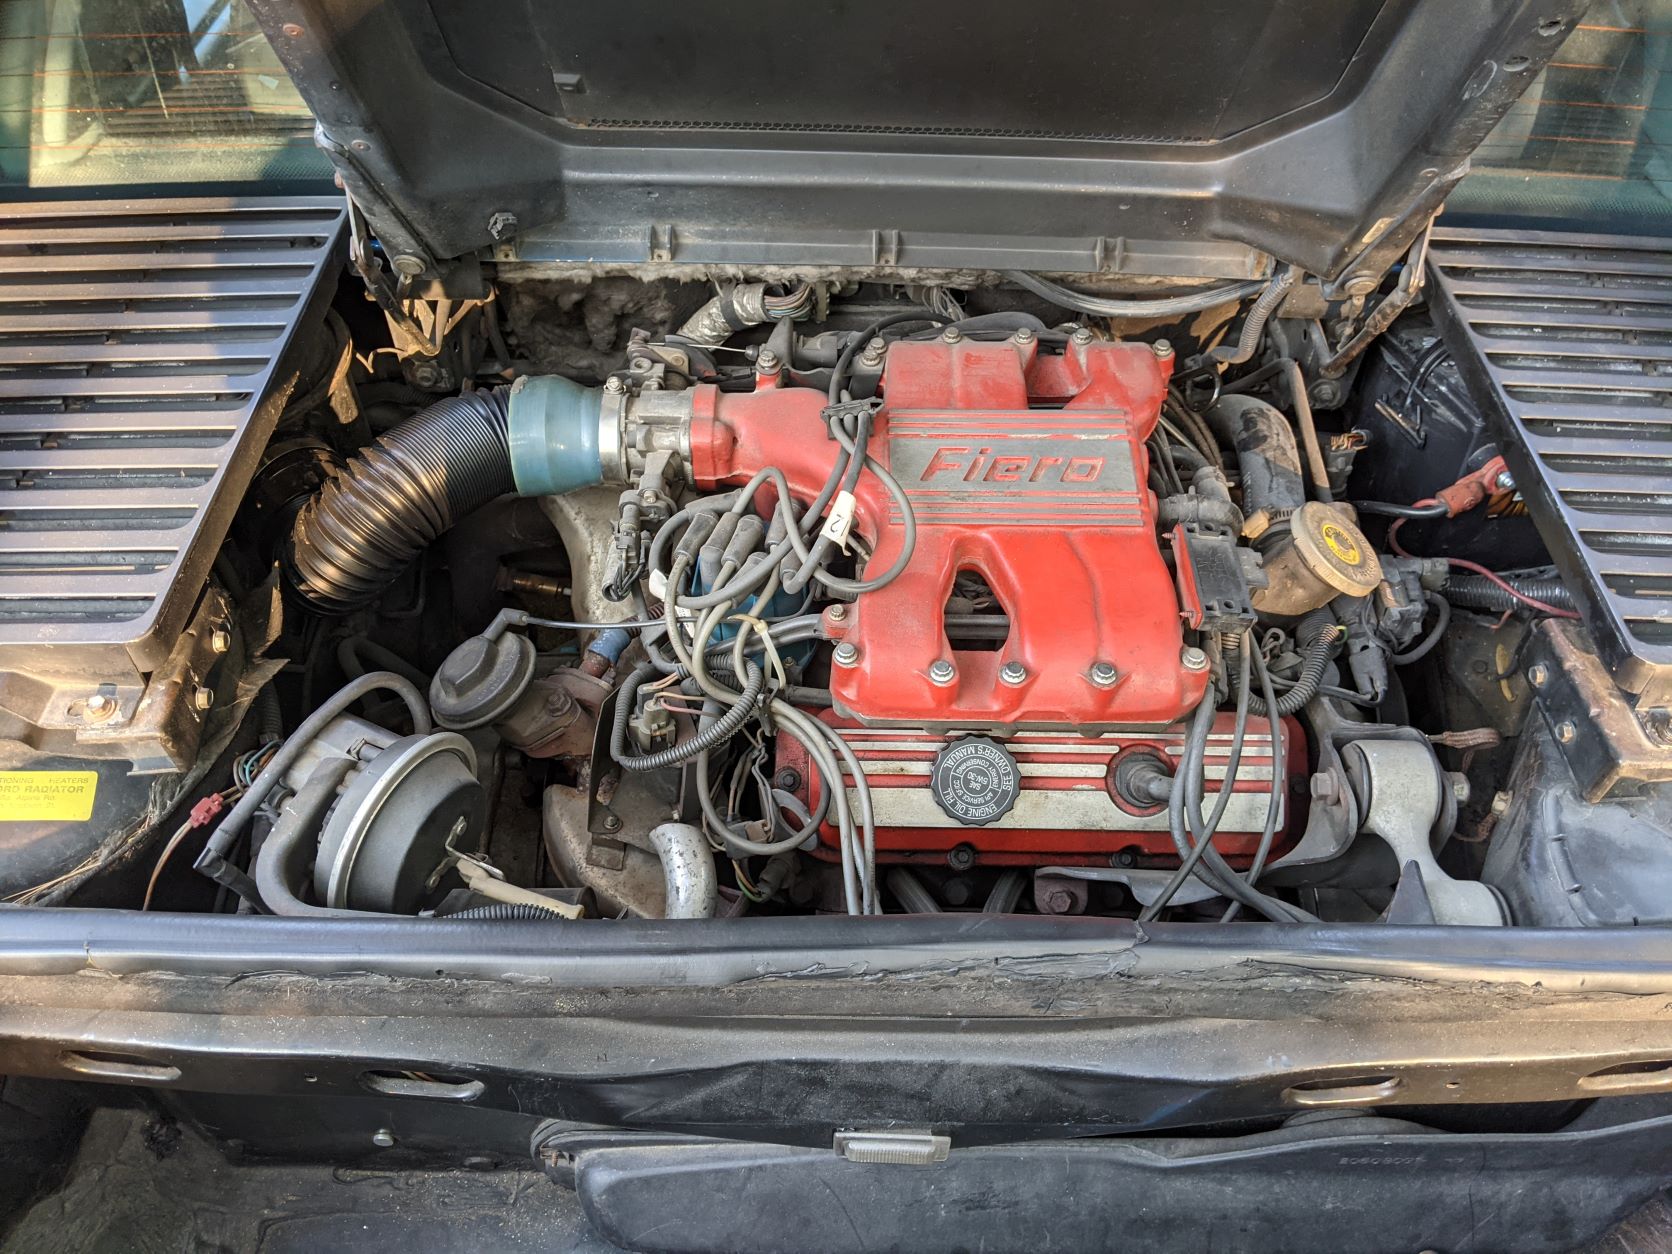 The original engine bay - note the home depot tubing being used in place of the intake
The original engine made 140hp stock. Judging by the richness of exhaust and the occaisional blue plume, I’m not getting that 140 out of it. I replaced the spark plugs and spark plug wires in late 2021 at about 135k miles. This got rid of all the sputters and pops when letting off the throttle that the car commmunity likes so much.
It just so happens that appetites have grown since 1987 and as a product of my time, I gotta give it more beans.
Donor Engine
The quintessential Fiero swap is a 3800 from the string of late 90s to mid 2000s sedans like the Buick Regal or Pontiac Grand Prix. The NA 3800 puts down just over 200hp. These can be found with a factory supercharger that bumps it up to about 250. These engines are widely regarded as one of the better american engines of this generation, if not of all time. The iron block is sturdy, not prone to dramatic failure, can withstand a beating. It is ubiquitous enough to make modification and repair cheap, as well as support a flourishing aftermarket for modifications.
With my limited budget of $2000, I decided to go for a donor car rather than a donor engine. I thought I would be able to get the engine, trans, harness and accessories for the cost of an ebay engine itself. This was both right and wrong. The cars in my budget were all high mileage, and none that had the supercharged GTP trim were road worthy. In February of 2022, I settled on a red 2002 Grand Prix GT with 238,000 miles on the clock, which was high, but the car was in decent shape, and test drove well.
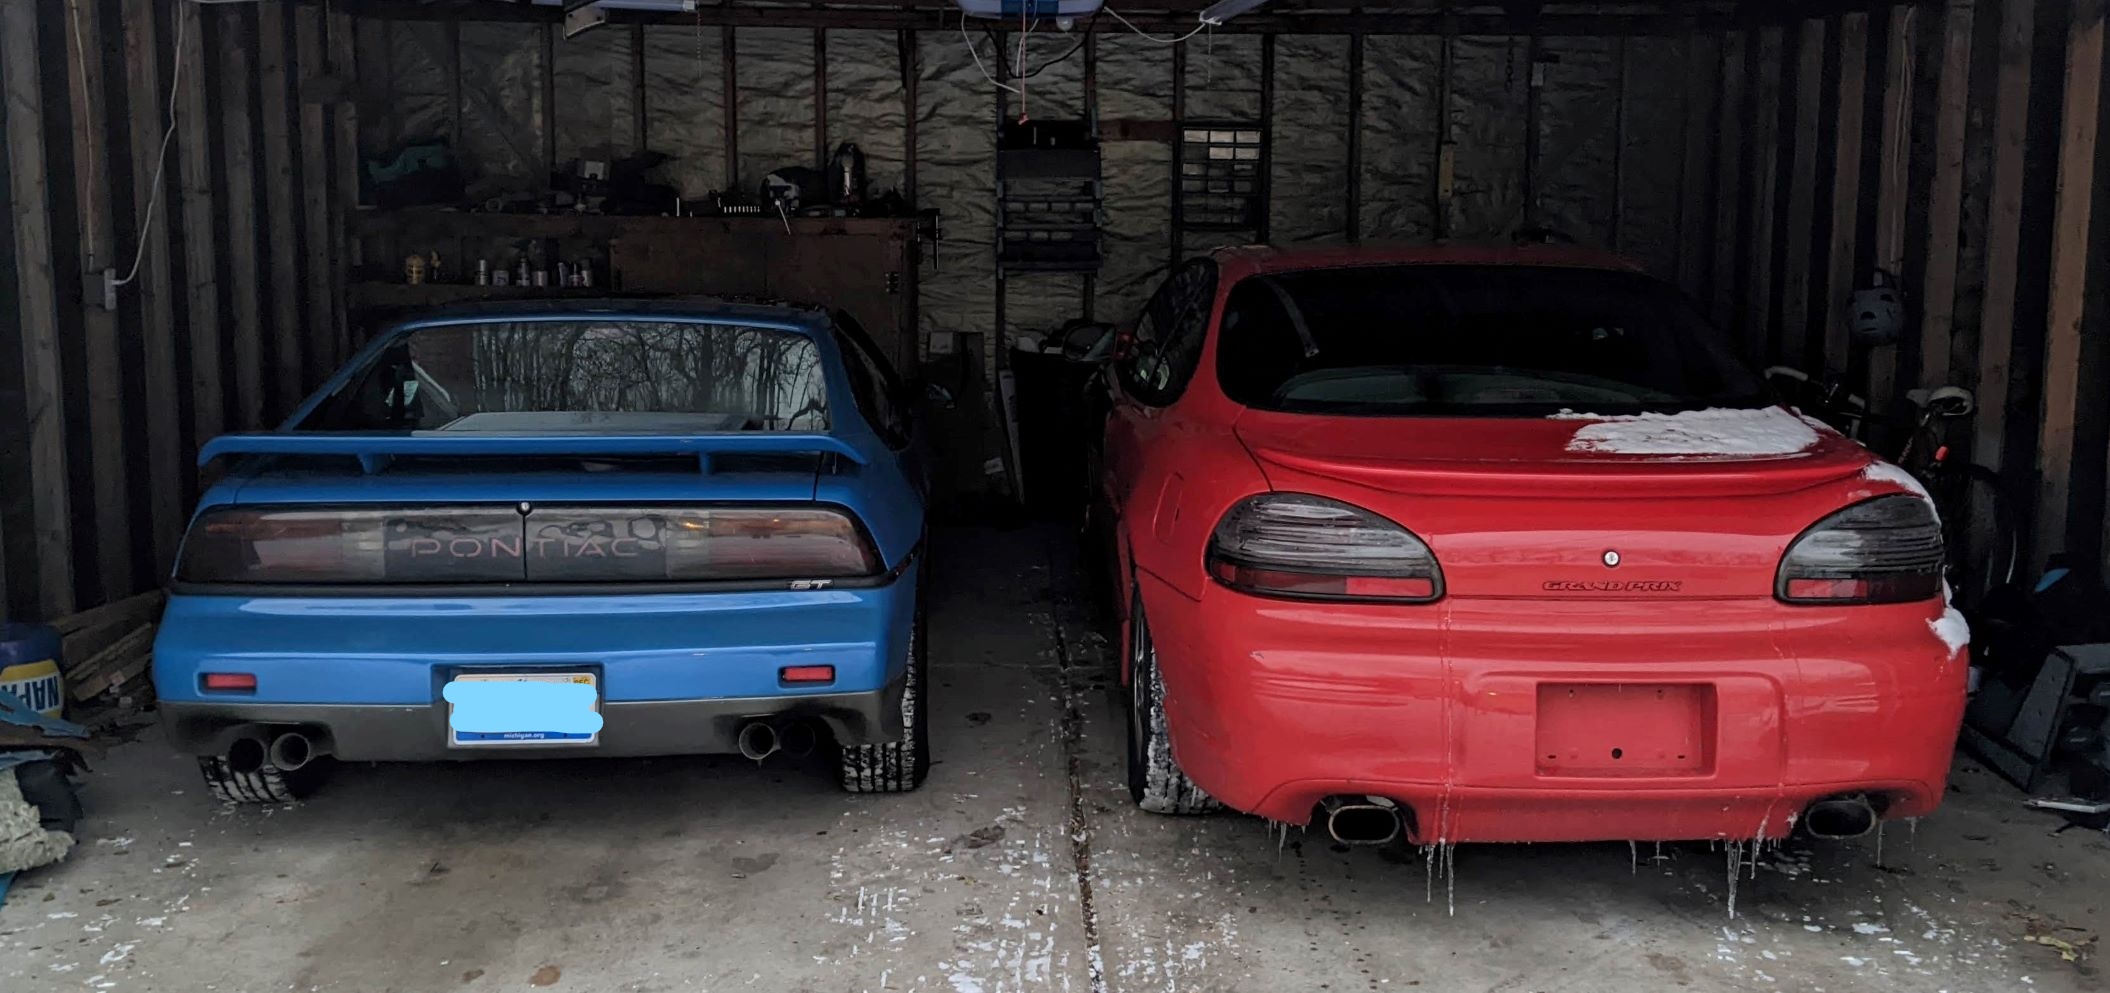 “The Fellas” in my garage
The engine had a suspected coolant leak, and a suspected oil leak. I neglected to root cause the issue as I was already planning to do a near-ocmplete teardown and rebuild of the engine. When tearing it down, there was a prominent lip in the engine casting at the oil pan interface.
Tear down and Rebuild
I was taught in school and by experience that whenever you buy a used engine, you have to tear it down before you use it. You never know the condition of these magic black boxes. Who knows what traps and dangers may reside within?
I borrowed and engine picker and stand from my neighbor and got to work.
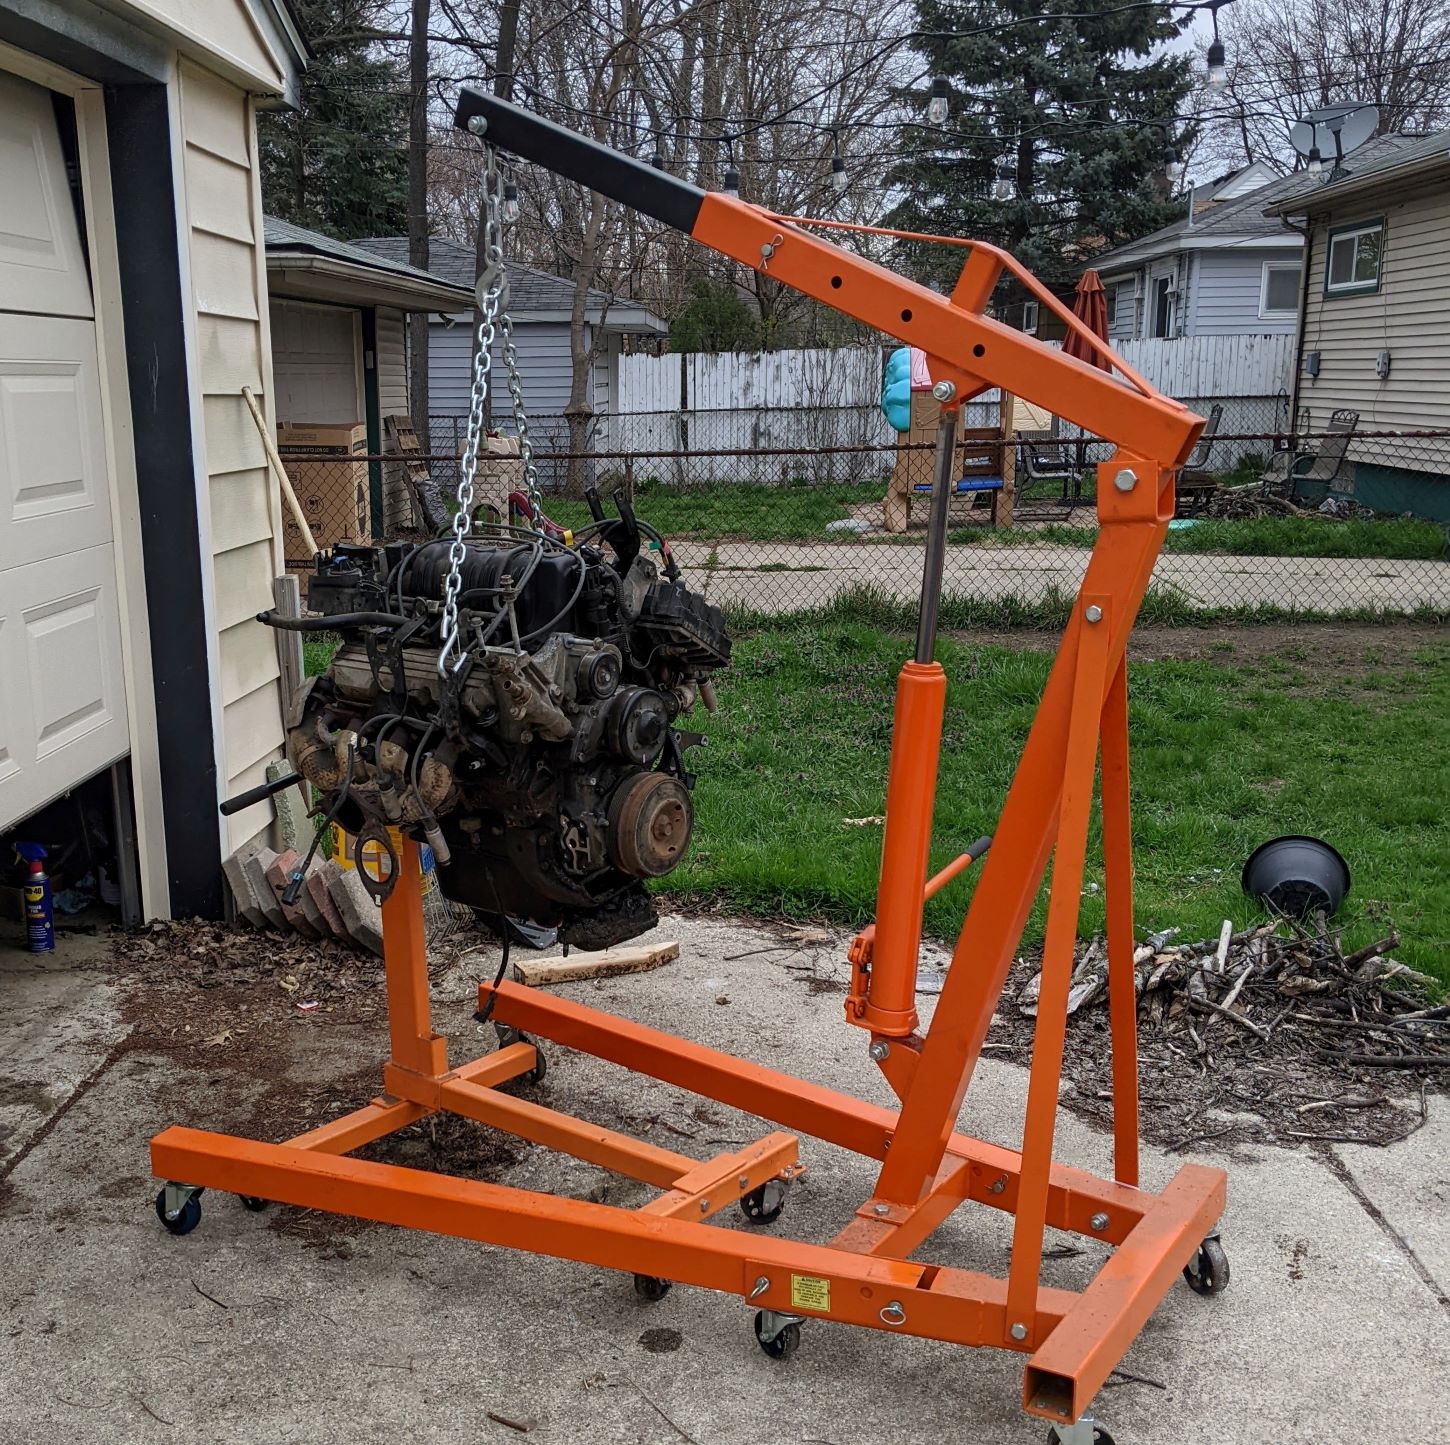 Engine pickers always look like trebuchets, on the cusp of launching my block through the nearest castle window
Once on the stand, I invited a few friends over. It turns out dropping an engine into the middle of a pack of mechanical engineers looks eerily similar to dropping a nice juicy steak into a tank of pirhanas. I don’t have any pictures because it was over before I could take my phone out of my pocket.
As expected for an engine that had 238,000 miles under it’s belt, some things had seen better days. The pistons were covered in crust, and there was distict evidence of blowby and crud (which i believe is the technical term). The rings were old news, and the carbon deposits looked like someone trying to season a cast iron pan.
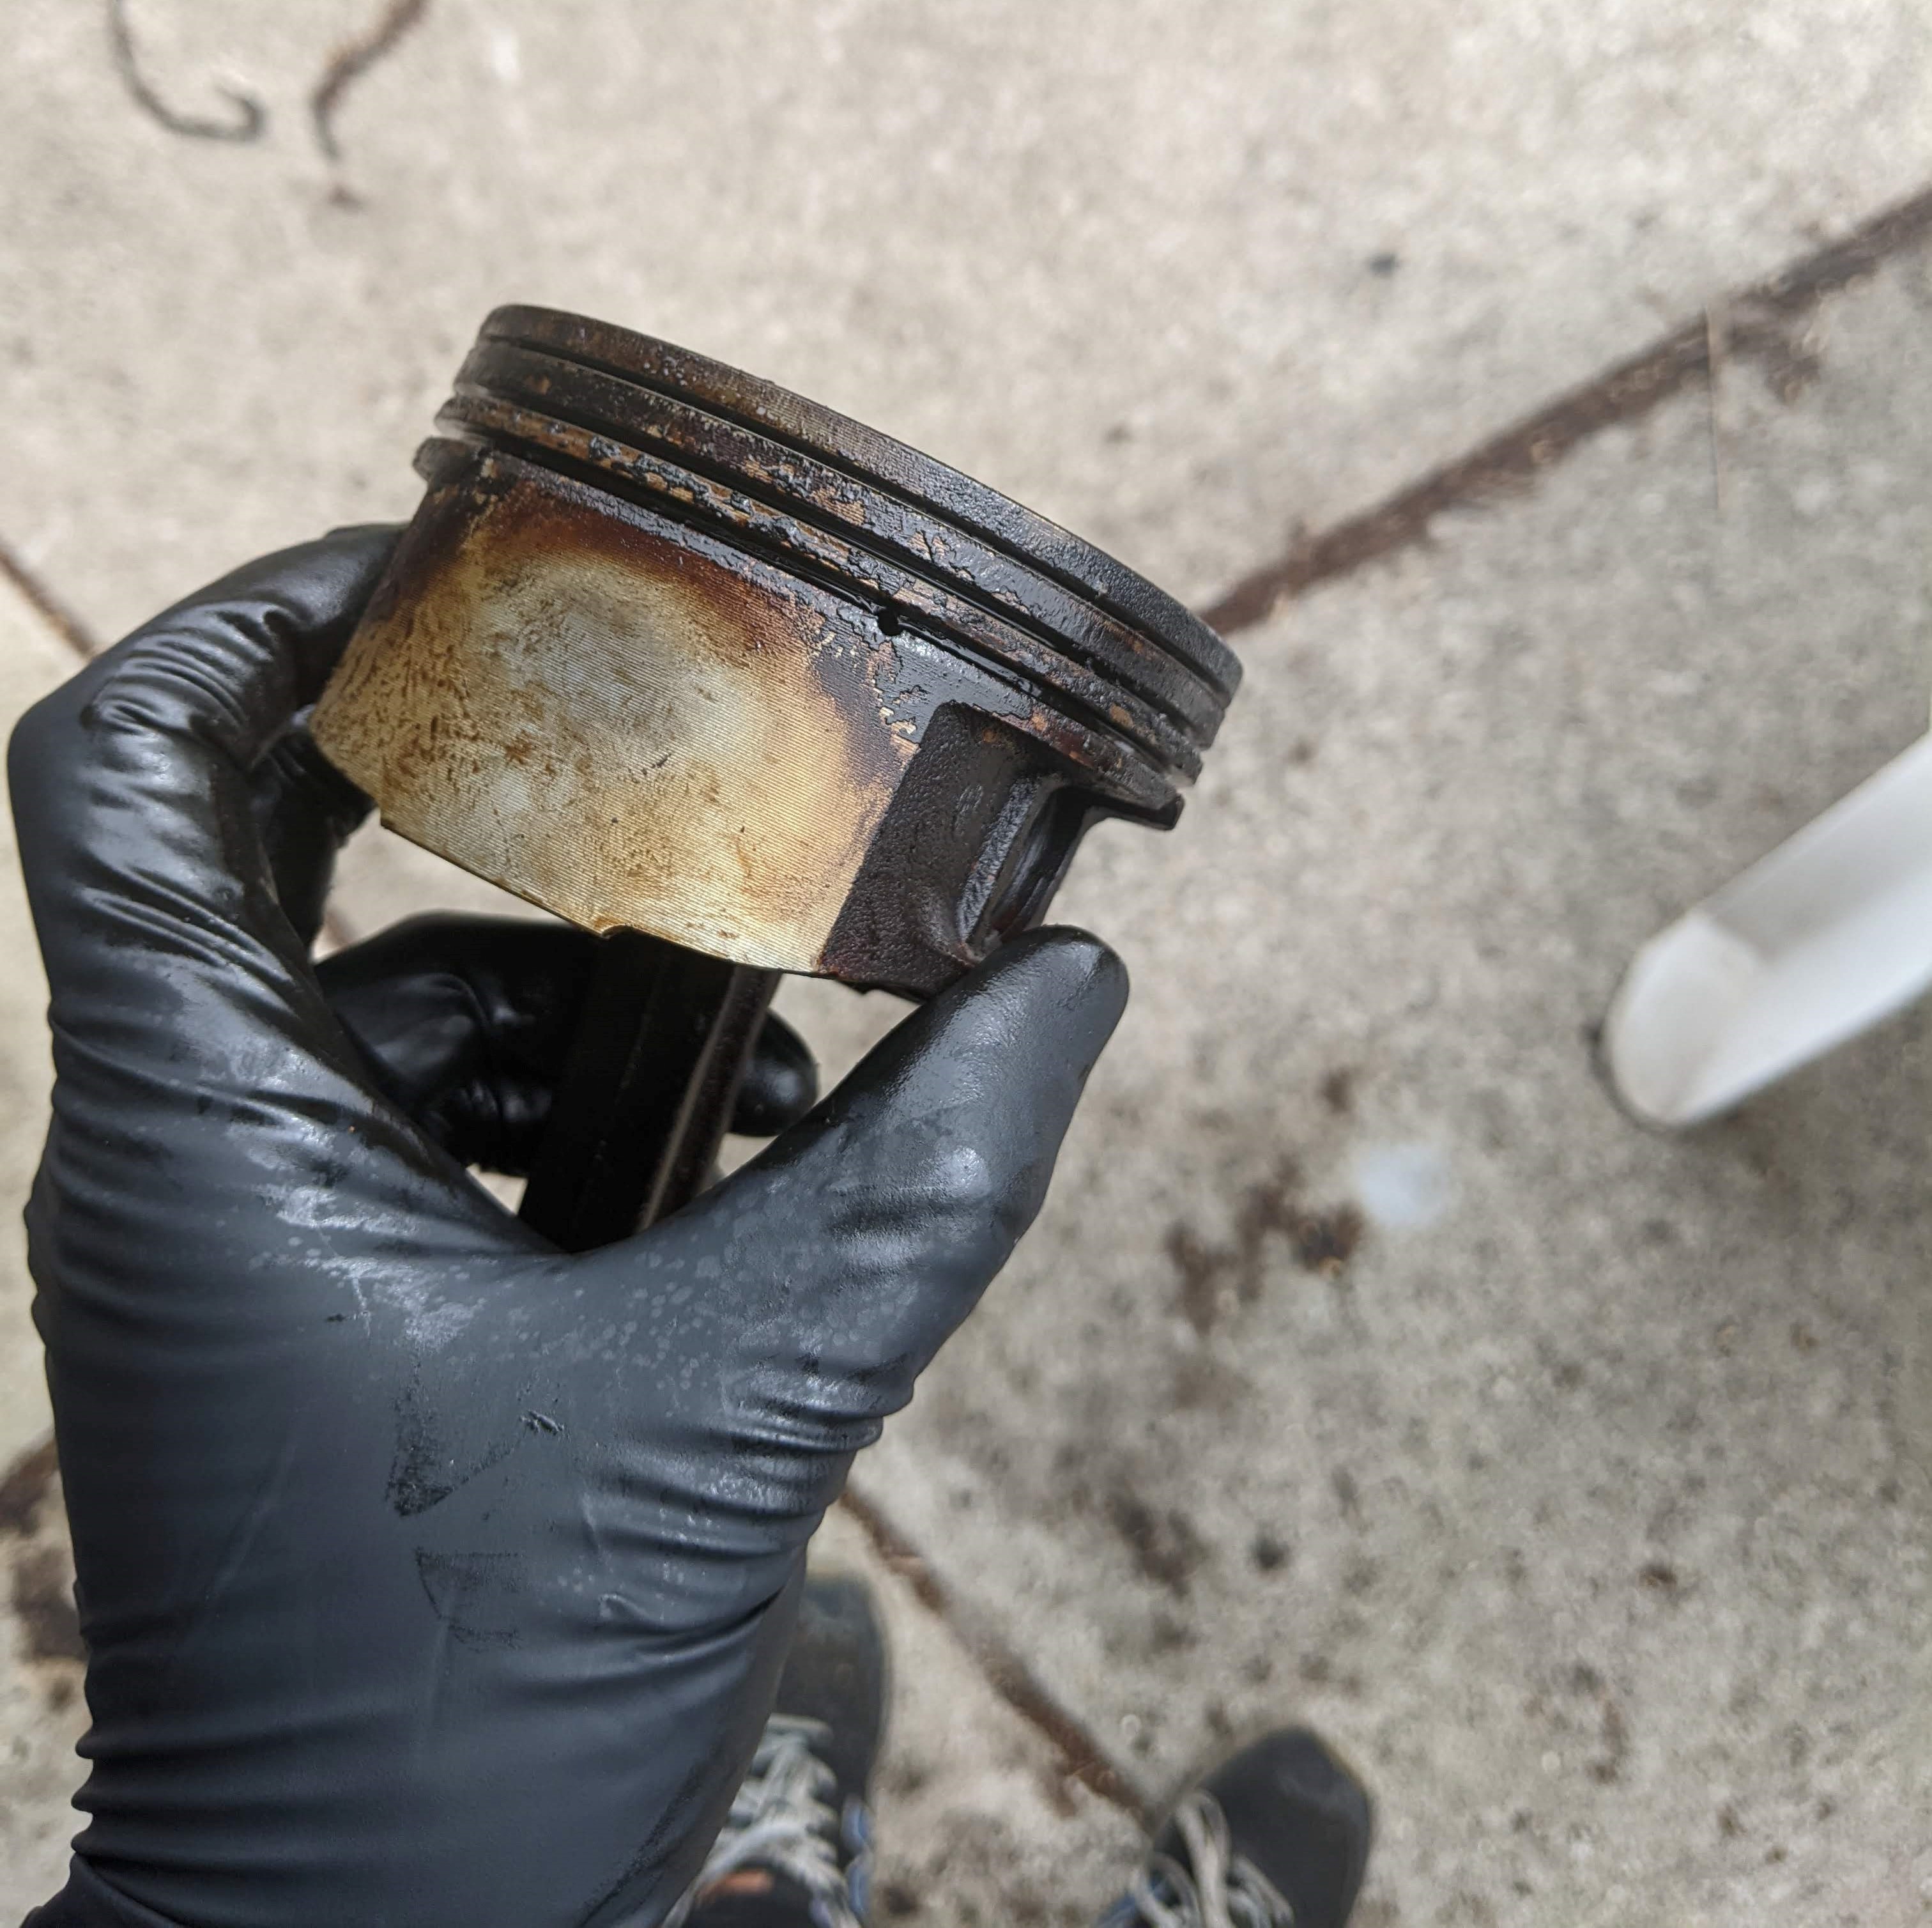 Ye olde crustye piston
Once pistons are out, I was able to get started putting things back together, the scary part. First order of business: hone the cylinders. These things were worn silky smooth and I’m partial to my pistons being lubricated properly. A flex ball hone ran me under a hundred and my 12v makita made short work of it. I was initially very nervous, what if I did it wrong? What if I took too much off? What if the cross hatching wasn’t dead-on? As with most things, it really wasn’t worth worrying about, it was easy to get the scratch pattern to look like it should, and almost no metal was actually removed.
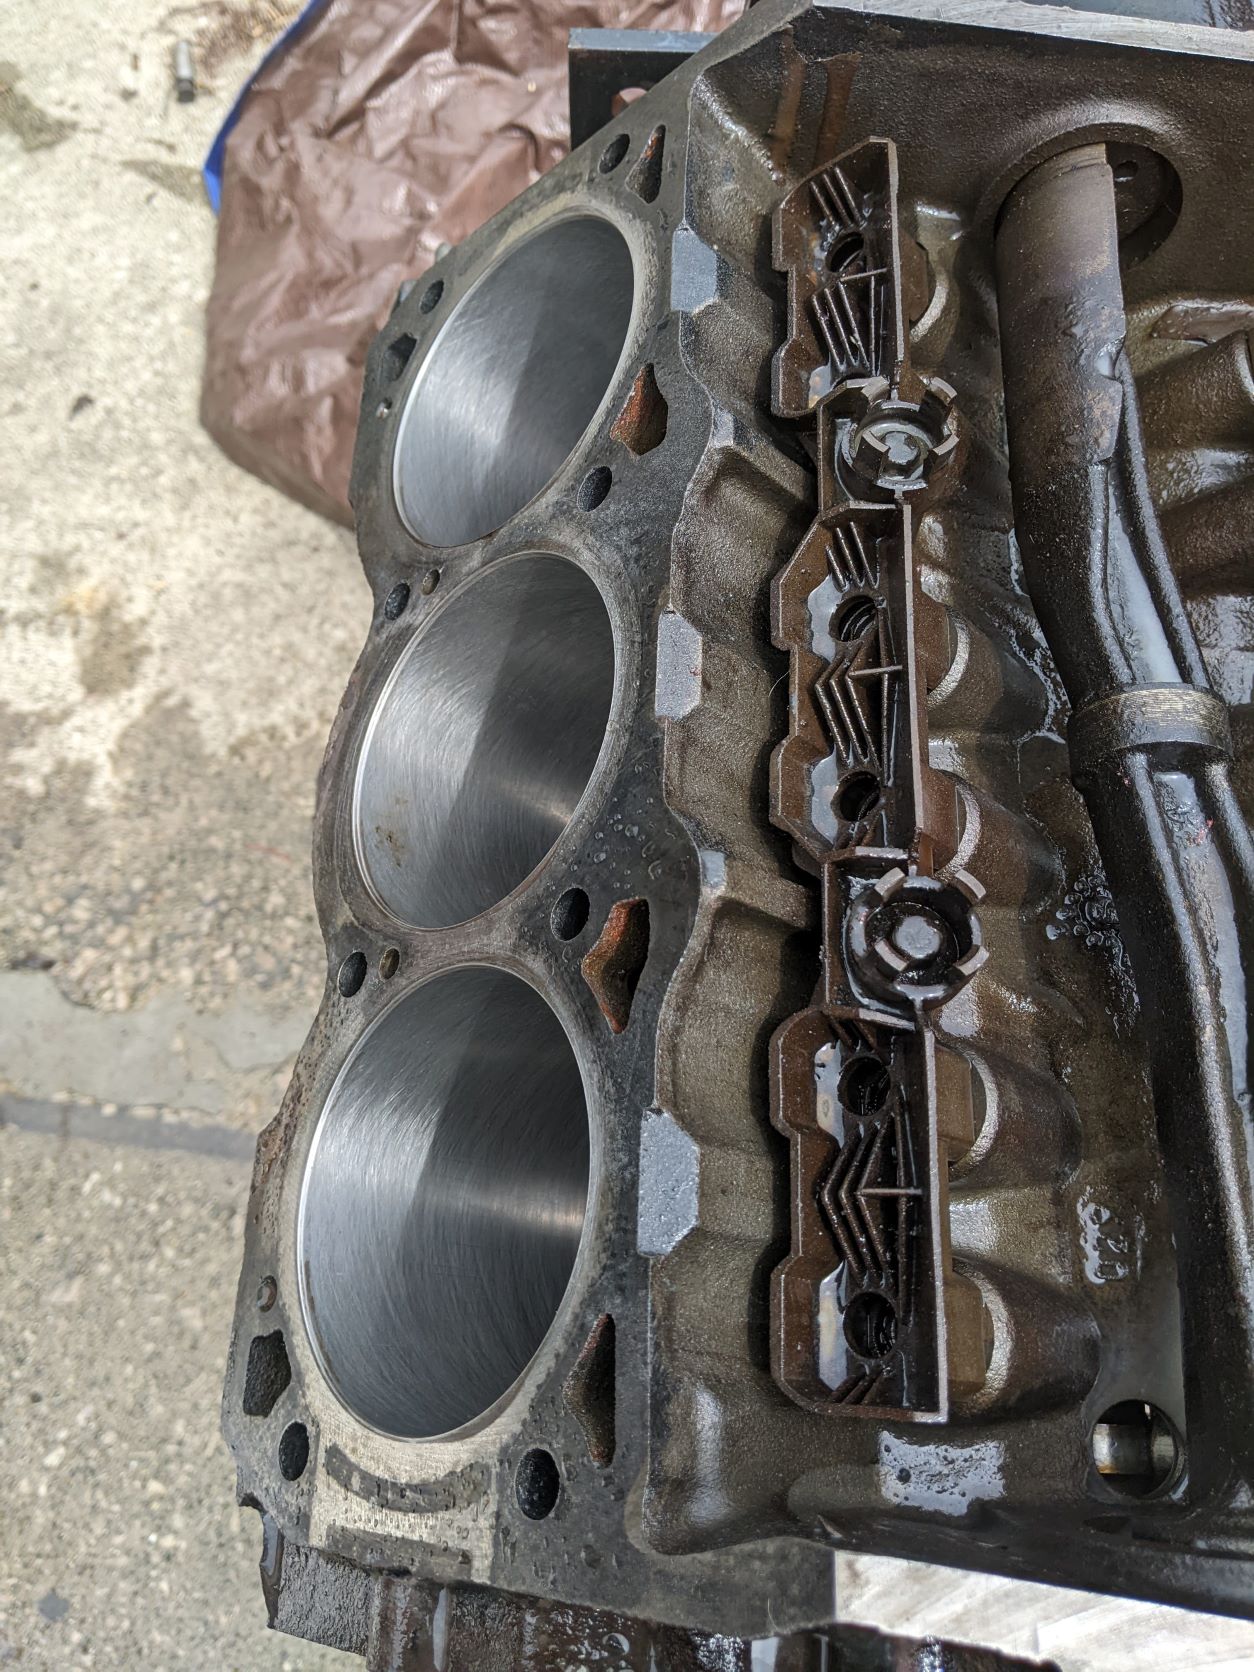 Easier done than said.
With pistons cleaned, cylinders honed, and ring pliers purchased, I reinstalled the pistons with their shiny new rings, rod bearings, and rod bolts. It always feels a little wrong to just toss hardware, espacially if its as fancy as rod bolts, but alas. Next on the docket was puuting on the fancy new MLS head gaskets (ty Intense Racing) and ARP head studs. These two upgrades should allow for atleast one more rebuild without purchasing new parts as well as withstanding more of a beating. I feel very lucky as the 3800 head studs are about $100 as opposed to the multiple hundreds for most of my friends’ builds. The heads required mild finagling as I refused to take the valves and valve springs apart, due to my garage being a particularly unclean engine build environment and these being mildly sensitive parts. Time will tell if this was unwise.
Engine Removal
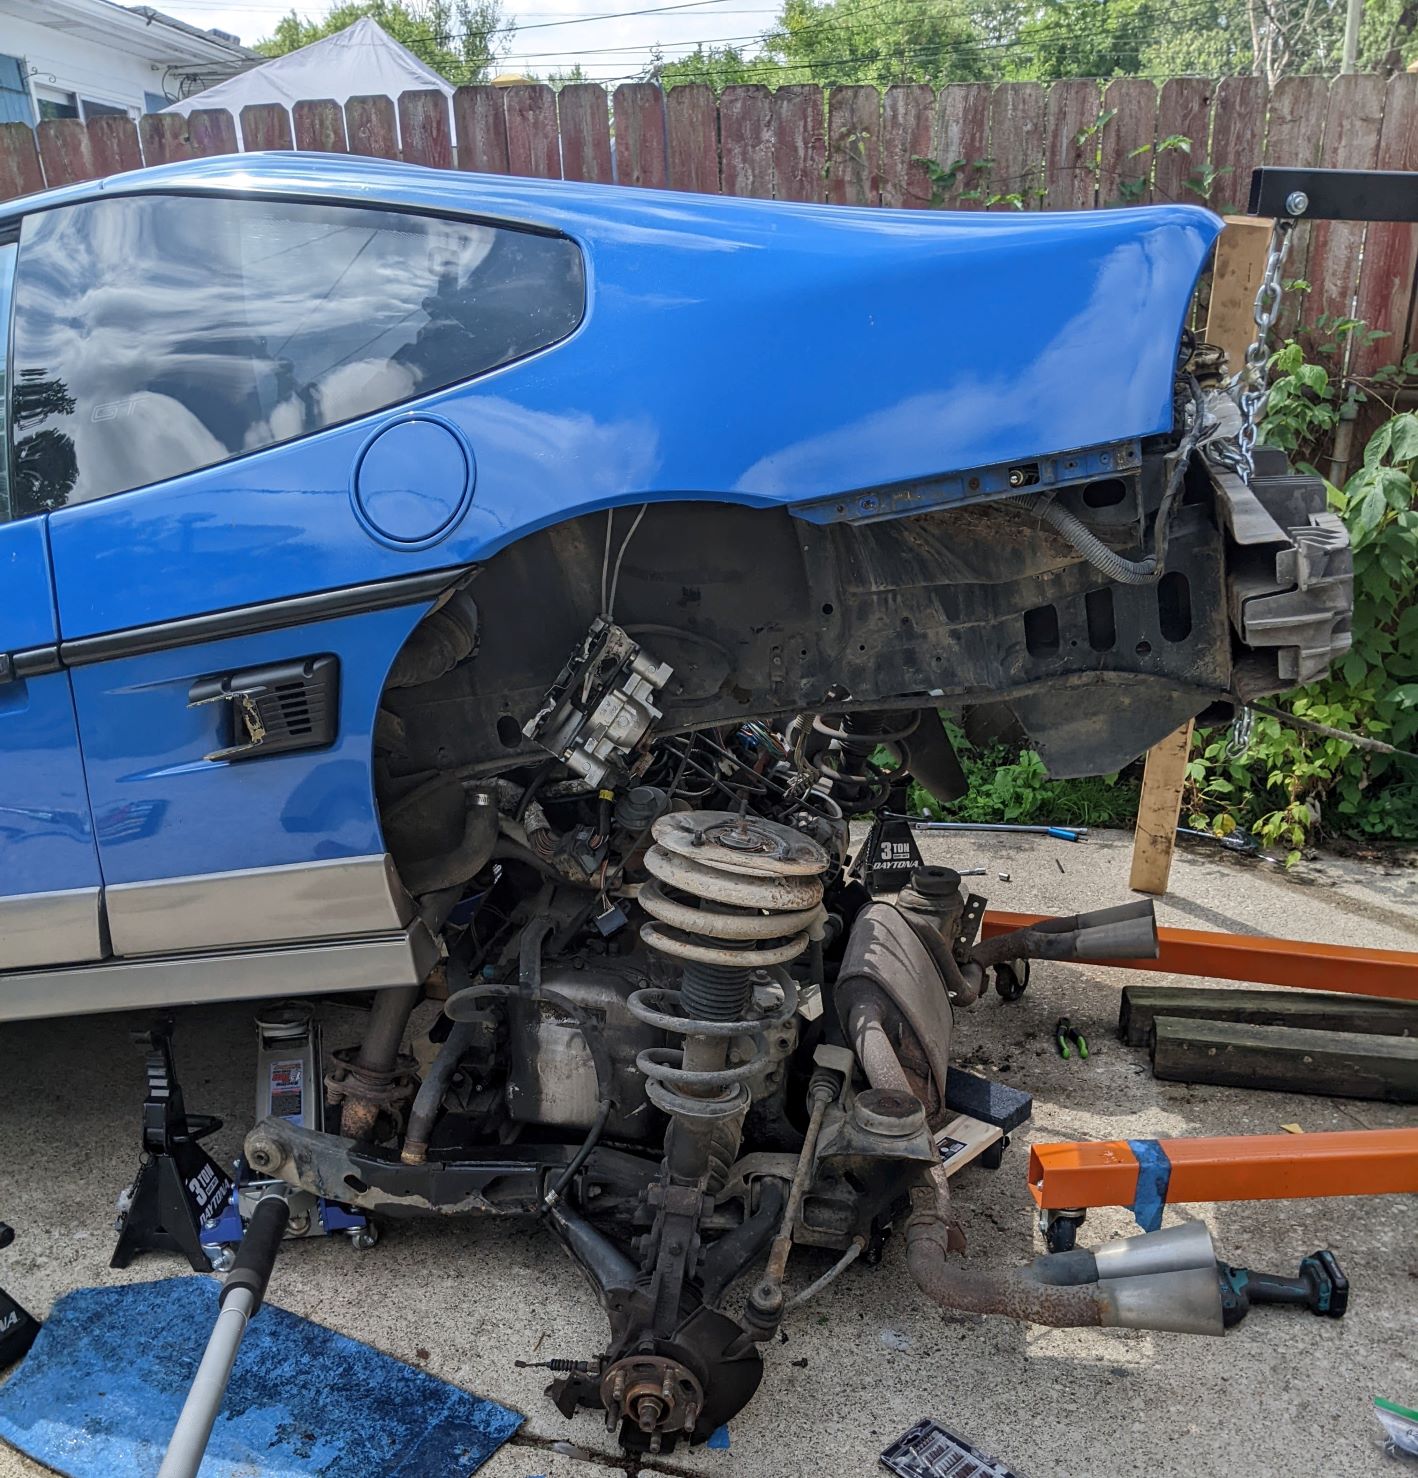
There is a fiery debate in the Fiero community about whether to remove the engine from the top o from the bottom by dropping the subframe. Since I was changing engine mounts, I thought it best to remove the subframe. This also would enable me to check for rust or damage. The initial subframe removal can be done with two jacks and some jack stands. To get the engine, trans, and subframe out from under the car without a vehicle hoist, I used the engine picker to lift the whole car by the rear bumper and slid the subassembly out from the side.
Please be patient while the site is under construction